


Building a Warhammer Kit
Today we are going to go through the process of building some Dwarf Ironbreakers from Games Workshop to help you make better looking miniatures at your table.
You will need:
Clippers
Files
Plastic Glue
Scalpel
Green Stuff
Sculpting Tools
Step 1 is to make sure you have a clean construction area, we don't want anything getting caught up in the model, like pet hair. I love you Archie but your fur gets everywhere!
Step 2 is to open up the box and READ THE INSTRUCTIONS. I know it isn't fun but GW have made a booklet giving you options for each miniature. You'll see that the sprues have a number system to let you know which piece will fit with each other.

Step 3 is removing the piece from the sprue. Take the flat edge of the clippers and place them against the model. Clip the sprues away from the most flexible/delicate join to the most robust to avoid breaking off any fine detail. When clipping remember that you are just taking the model out of the sprue, leaving burs is fine as they'll be cleaned up later.

Now take your scalpel and gently remove any excess plastic on the model. First focusing on the areas where the piece was attached to the sprue and then to the seam lines. As Games Workshop miniatures are injection molded they are highly detailed, however, the production methods can leave moldlines on the miniatures. Tidy up the pieces with a file if required.
You can always take more away but it's harder to put it back on!


Step 4: Take your clean pieces a assemble them without glue first just so you know how they fit together; there's nothing worse than having to remove errant dried glue from your models. This will also show you if there are any unreachable or difficult to paint areas of the model.

Now carefully glue the model together as far as you want with an eye on painting the model. Patience is a virtue here as you'll want to wait between glueing each piece.

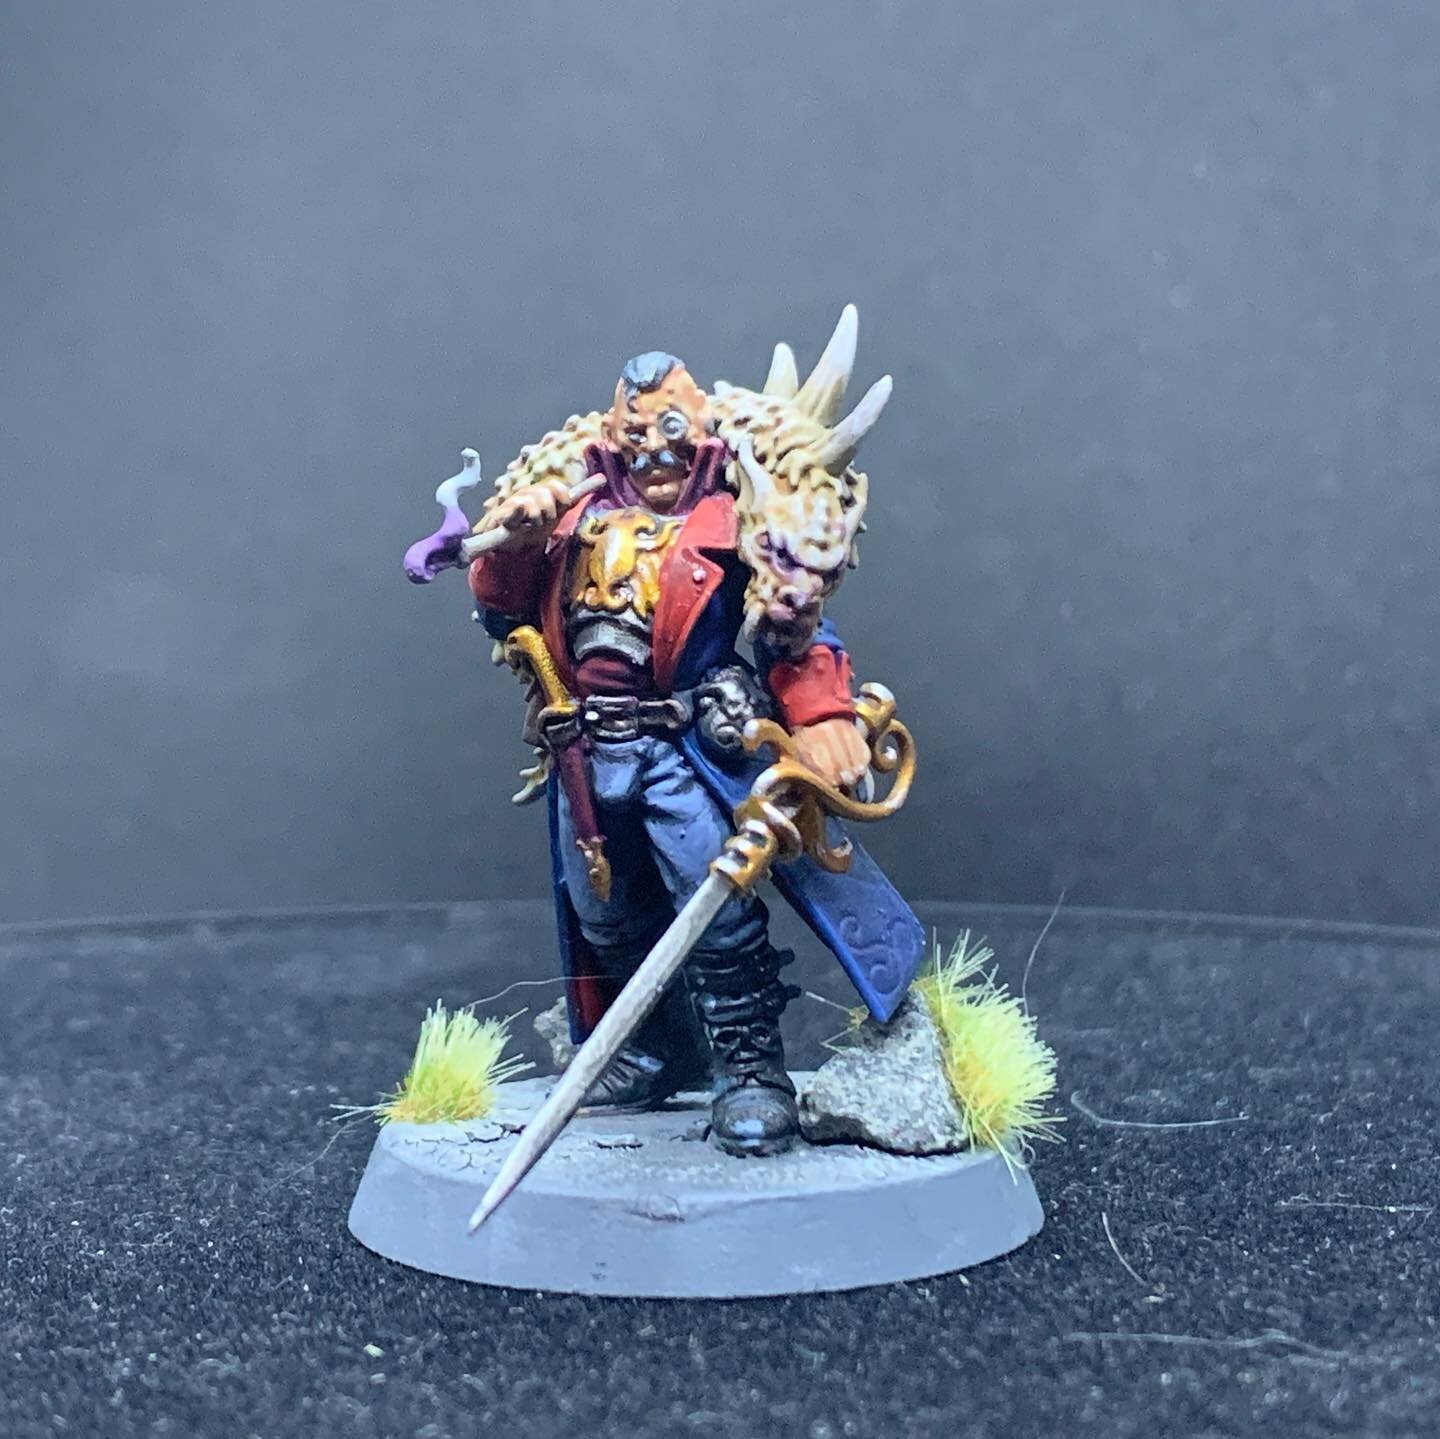
The shield will make parts of the model difficult to paint, I'll be doing them separately.
Step 5: Once everything has dried you may notice some gaps in between the pieces you have glued together, this is sometimes inevitable. To fill the gaps I use Liquid Green stuff. Apply some to the gap and then smooth out using a sculpting tool, you want as little as possible left on the model after application.

Clean up the excess dried Green Stuff with a scalpel and now your model is ready to be primed and painted.
Pro Tip: The reason we don't prime the miniature in the sprue is because however thin the layer of paint, it can affect how well the pieces fit and even the effectiveness of the glue. Also you will have to prime them again once they are assembled so it only serves to lower the amount of detail you can bring out on the miniature.
I hope this has helped. Remember that the more time you spend on this stage will directly affect the maximum quality of the paint job you can achieve, the paint will amplify and extraneous plastic or imperfections on the model.
Get making and may you roll well!


